")
Cleanroom Wall Paint 101: Selection Matrix + Spec Checklist

In cleanrooms, walls are not décor. They are a working surface. They take hits, wipes, disinfectants, and constant contact. Every day.
Most teams call it “wall paint” because procurement needs a line item. Operations pays the price when that line item starts shedding at corners, chalking under aggressive wipes, or turning repairs into recurring downtime.
That’s why “best clean room wall paint” is the wrong question. The decision isn’t to paint. It’s the wall-finish system you can maintain and defend: coating system, FRP, or modular panels. Chosen against three realities that never negotiate your disinfection regime, your impact profile, and your repair tolerance.
This guide gives you a final-class decision, a selection matrix, and a spec checklist that prevents predictable failure before the first coat goes on.
TL;DR
- Start with the system, not the SKU. Decide whether the area needs a coating system, FRP, or modular panels.
- Lock the three decision inputs first. Cleaning chemistry + wipe intensity, impact/contact hotspots, and allowable repair downtime.
- Choose a lifecycle friction. Weight repair speed, interface risk (penetrations/terminations), and change-control burden.
- Write the spec where failures begin. Prep, interfaces, cure conditions, and return-to-service acceptance criteria.
- Govern it after turnover. Documented acceptance checks + controlled repairs keep surfaces stable instead of turning into patchwork.
First, Decide the Wall Finish Class
In practice, you’re selecting a wall finish class, and each class behaves differently under disinfectants, traffic, and repairs.
Paint, in cleanrooms, usually means a coating system: primer + build coats + topcoat. The question is whether that system can stay intact and cleanable over time.
Where Painted Drywall Breaks Down in Real Operations
- Corners, door frames, and cart routes take impact.
- Scratches turn into breaches.
- Breaches turn into patches.
- Patches turn into variability: uneven surfaces, touch-up cycles, and repeat repairs.
When FRP or Modular Panels Win
- Repairs must be fast and repeatable.
- Penetrations and equipment moves are frequent.
- You need cleaner detailing and fewer “weak points” at edges and transitions.
- Change control matters as much as initial cost.
If wall penetrations, utilities, and layout changes are routine, painted drywall becomes a lifecycle risk. Default to FRP or modular panels in the high-change areas.
Choose the Finish Class by Area
- High-touch / high-impact zones: prioritize durability and repair speed.
- Low-touch zones: coatings may be defensible if maintenance and repairs remain controlled.
Once the final class is chosen, the rest is discipline. The next step is freezing the three inputs that make the specification defensible.
Lock the Three Inputs That Determine the Right Cleanroom Wall Finish
Wall finishes fail when teams pick a product first and define operating conditions later. Flip the order. Freeze the inputs. Then select.
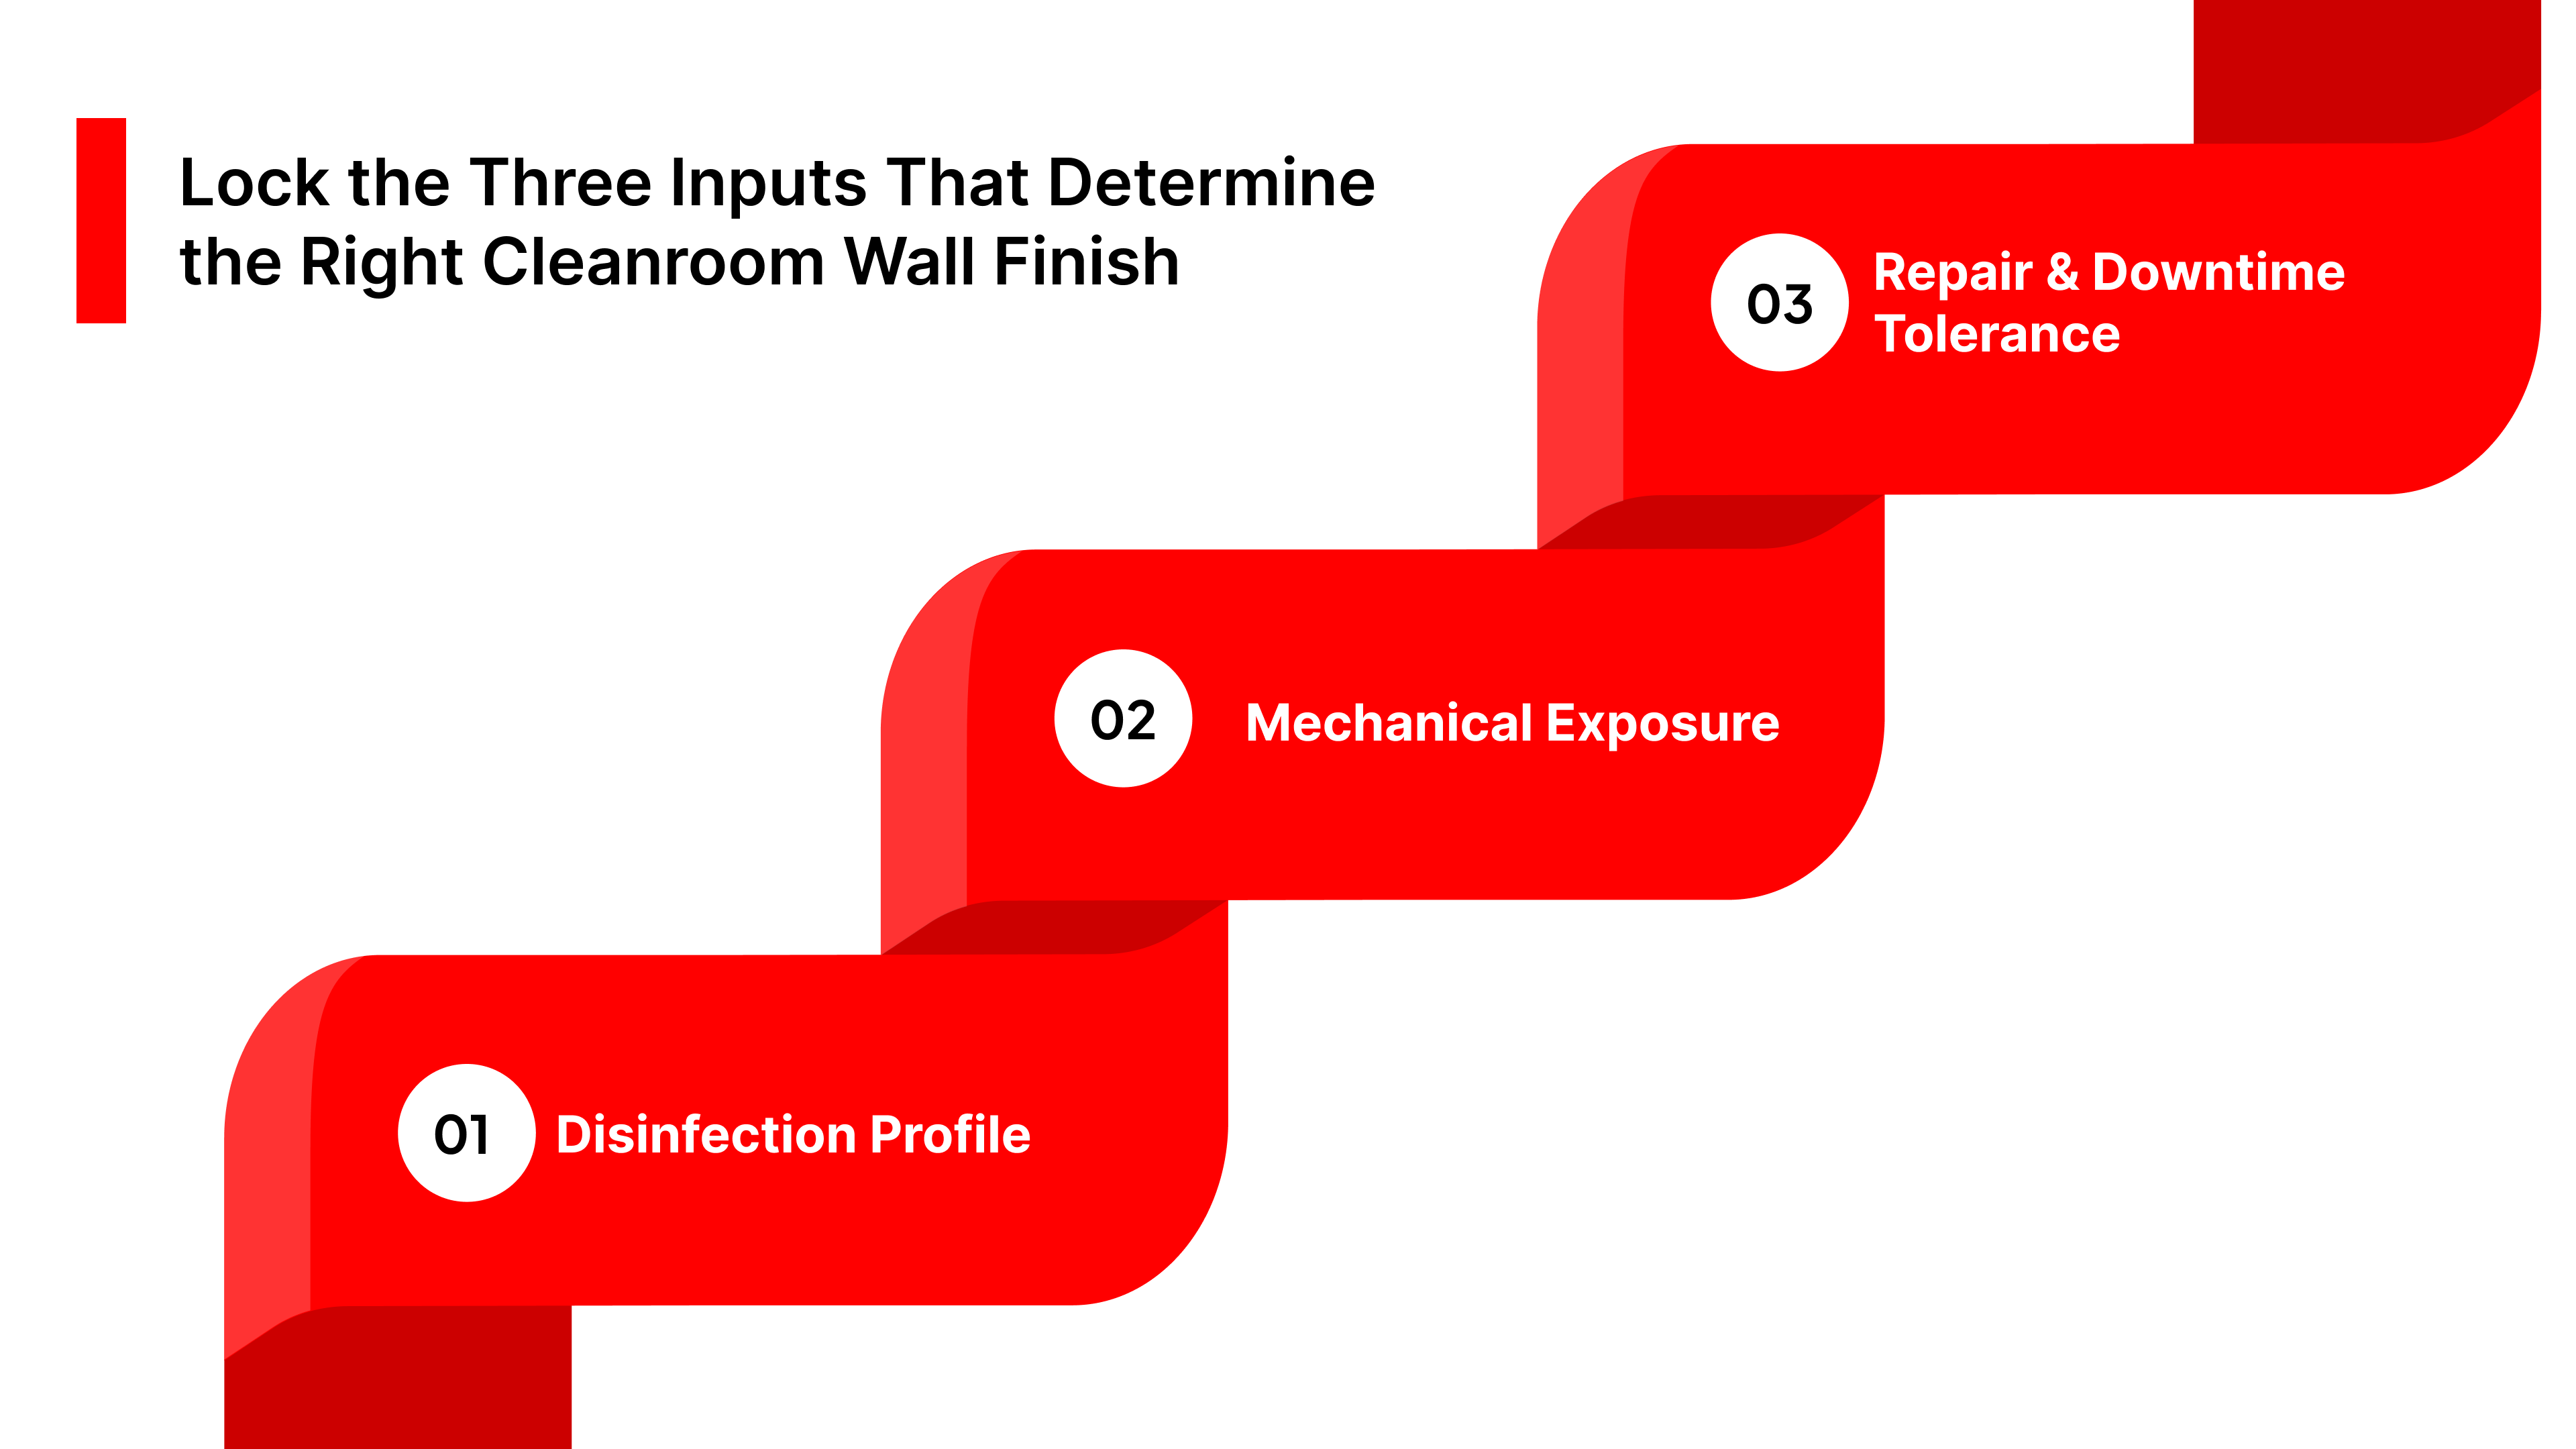
1. Disinfection Profile
- Frequency and cadence (daily, per shift, per changeover).
- Wipe method and abrasion load (wipe pressure, saturated wipes, spray-and-wipe).
- Contact time expectation and whether “wet dwell” is realistic in practice.
- Changeover intensity and where walls take the hardest cleaning.
2. Mechanical Exposure
- Cart paths, turning points, and door-frame contact zones.
- Corners, bump rails, pass-through surrounds, and staging edges.
- Maintenance contact risk during equipment moves and tool work.
- Existing “known damage zones” you already patched.
3. Repair and Downtime Tolerance
- Maximum acceptable outage per repair window.
- Patch standard: cosmetic tolerance and who approves it.
- Recoat tolerance: partial vs full recoat expectations and how often you can absorb it.
Constraint flag: Moisture and condensation exposure (washdown, humidity swings). Treat it as a hard constraint on system choice and cure conditions.
Lock these inputs into a one-page brief that QA, ops, and procurement can all use. That brief becomes the basis for selection and submittals.
With these inputs fixed, the decision shifts from preference to structured comparison across finish options.
Use a Selection Matrix to Choose the Finish That Fits Your Use Case
Once the final class is chosen and the three inputs are fixed, the remaining question is simple: which option holds up under your operating reality with the least lifecycle friction?
A matrix keeps that decision explicit.
The Tradeoffs That Matter
- Disinfectant tolerance under real wipe practice.
- Abrasion and impact resistance at known contact points.
- Repair downtime and how fast you can restore a defensible surface.
- Patch acceptability (visual and functional) and how often you can tolerate repairs.
- Moisture tolerance where humidity swings or washdown exist.
- Shedding/flake risk under repeated cleaning and contact.
Cleanroom Wall Finish Selection Matrix (Coatings vs FRP vs Panels)
| Criteria | Waterborne epoxy (“cleanroom paint” class) | 2K epoxy coating system | Epoxy + urethane topcoat system | Fiberglass-reinforced coating system | FRP over drywall | Modular wall panels (prefinished) |
|---|---|---|---|---|---|---|
| Disinfectant tolerance | Medium | High | High | High | Medium–High | High |
| Abrasion/impact resistance | Low–Medium | Medium | Medium–High | High | Medium | High |
| Repair downtime | Low–Medium | Medium | Medium–High | Medium–High | Low–Medium | Low (module swap) |
| Patch acceptability | Medium | Medium | Medium | Medium–Low | High (panel replacement) | High |
| Moisture tolerance | Medium | Medium | Medium | High | High | High |
| Shedding/flake risk | Medium | Low–Medium | Low | Low | Low | Low |
| Typical best-fit | Low-touch walls with a stable cleaning regime and controlled contact risk | General cleanroom walls needing stronger chemical tolerance and better durability than “paint.” | High-cleaning intensity zones where stain/chemical tolerance matters, and finish integrity must hold | High-impact areas, frequent wipe-down zones, and locations where surface breach risk is high | Areas with frequent wipe-down and moderate impacts, where quick, repeatable repair matters | High-change environments, frequent penetrations/modifications, and zones where change control and fast restoration are critical |
Select the option that best fits your three inputs. If two options are close, break the tie on repair downtime and interface risk (corners, penetrations, terminations).
After the finish option is selected, the specification must remove predictable failure points at interfaces and define return-to-service criteria that operations can enforce.
Write the Specification That Prevents Early Wall-Finish Failure
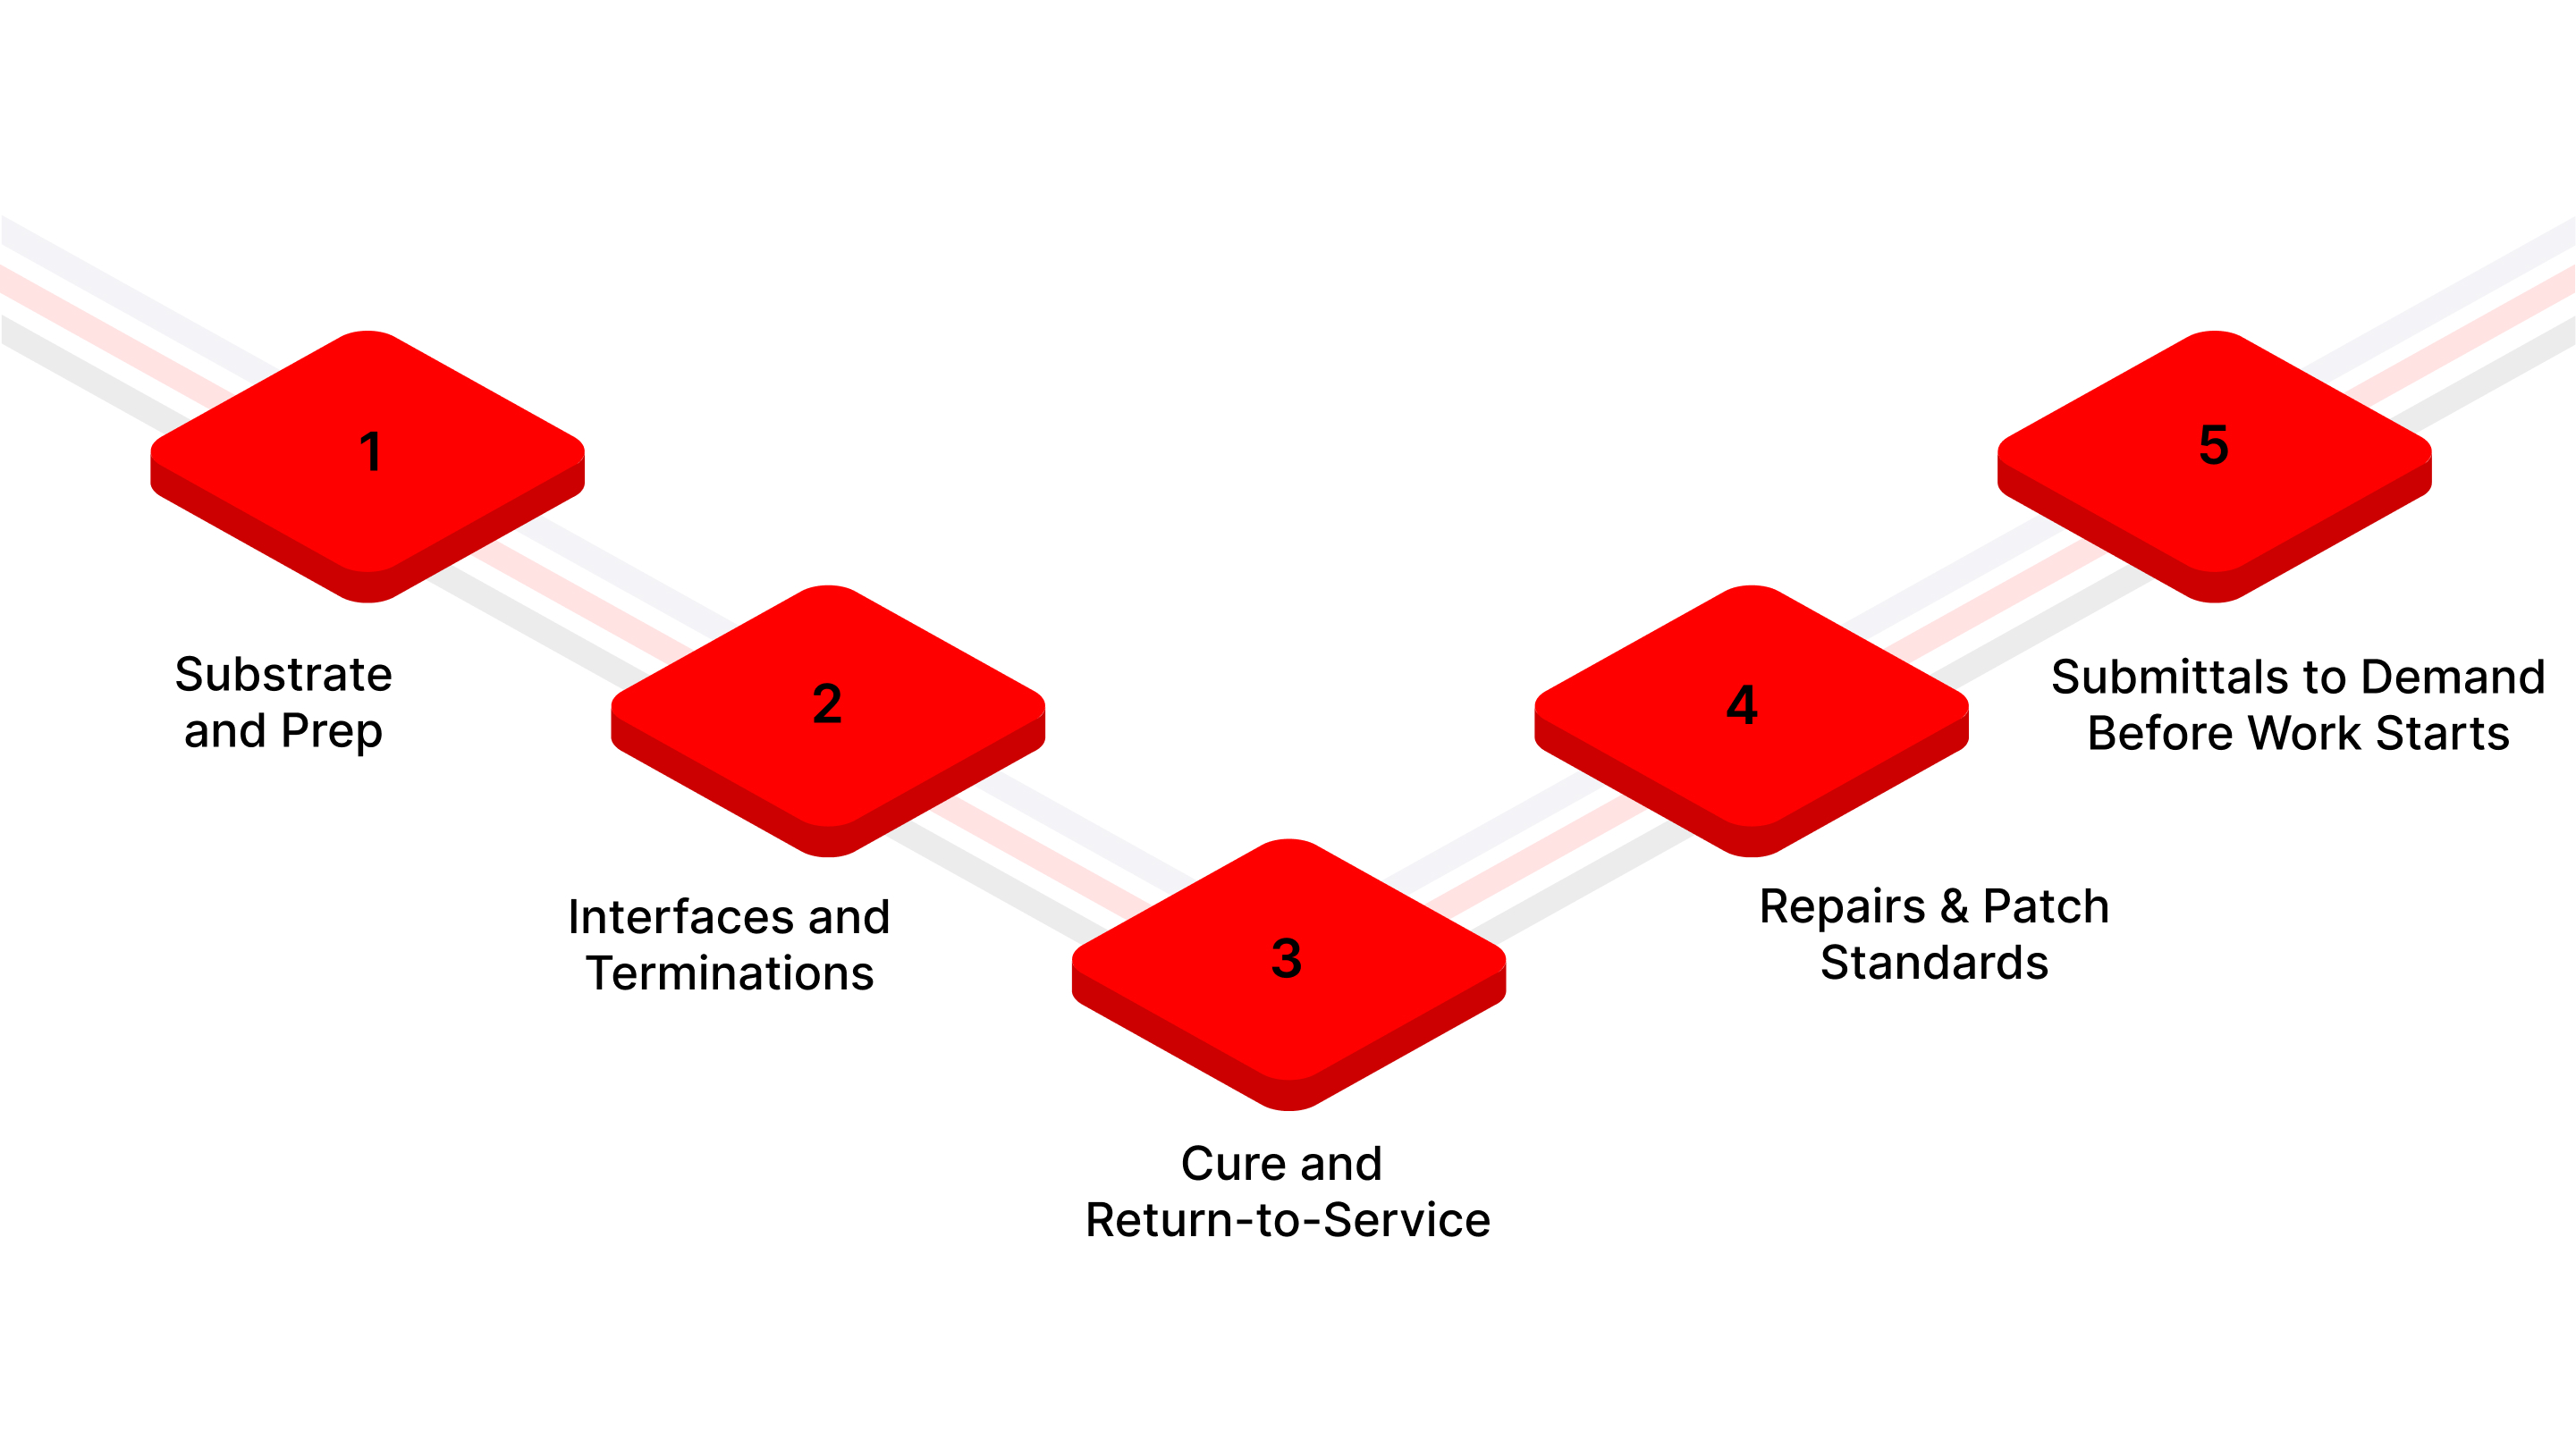
Selection determines what you buy. Specification determines whether it survives.
- Substrate and Prep
Start with the substrate. State compatibility, moisture limits, primer alignment, and surface condition requirements in the spec. Do not assume “standard prep” will be interpreted the same way by every contractor.
If moisture and substrate conditions are not controlled, coating performance is not defensible, no matter what product is selected.
- Interfaces and Terminations
Treat interfaces as engineered details. Corners, door frames, penetrations, joints, and terminations are where adhesion loss starts. Specify how transitions are sealed, made cleanable, and handled across dissimilar materials.
Avoid language that pushes decisions into the field. “Contractor to detail as required” is a risk transfer clause.
- Cure and Return-to-Service
Define cure and return-to-service in operational terms. Calendar days are not an acceptance criterion. Specify controlled cure conditions and require them to be recorded, including allowances for cleaning, contact, and equipment movement.
If occupancy constraints apply, define return-to-service acceptance upfront, including VOC considerations where relevant.
- Repairs and Patch Standards
Control repairs so walls do not degrade into patchwork. Define when a patch is acceptable, when recoat is required, and who approves the outcome. Require repair documentation for traceability: location, date, method, and materials used.
This prevents surface variability from accumulating over time.
- Submittals to Demand Before Work Starts
Require a submittal pack before execution: full system datasheets with compatibility confirmation (primer/base/topcoat), installation and cure condition logs, batch/lot traceability for materials, a repair method statement with patch acceptability standards, and return-to-service acceptance checks aligned to operations (surface integrity and cleanability under representative wiping).
These clauses remove ambiguity at prep, interfaces, curing, and return-to-service, where wall finishes fail first.
Watch this short installation clipto see how modular wall panels come together in practice—useful context if your decision is moving away from painted gypsum toward panelized finishes.
Keep Wall Finishes Inspection-Ready Over Their Lifecycle
A wall finish fails twice. First in the field. Then in governance. The second failure is avoidable.
Acceptance: What You Verify at Turnover
Treat acceptance as a short, documented check against known weak points. Focus on edges, corners, frames, penetrations, and high-contact runs. Confirm the surface is cleanable under a representative wipe method.
Do not accept “looks good” as a proxy for “survives cleaning.”
Repairs: Who Can Authorize, What “Acceptable” Means, and How It Gets Recorded
Repairs create variability unless you control them. Assign one role to authorize repairs and one role to approve closeout. Require a repair log that records location, cause, method, materials used, and return-to-service sign-off.
Define the trigger that forces escalation: repeated repairs in the same zone, recurring edge lift, or patch visibility beyond the agreed standard. At that point, you are not “touching up.” You are managing a design or detailing problem.
Change Control: When Modifications Force Rework or Re-Qualification
Treat new penetrations, equipment moves, and utility changes as controlled events. Define which changes require rework of the wall finish, which require re-inspection, and which drive a finish-class change. If modifications are frequent, governance should assume they will happen and standardize how they are handled.
Evidence on Demand: What Leadership and Auditors Should Get in Minutes
Keep a finish schedule by zone, a current repair log, and a simple inspection standard that states what gets checked, how often, and by whom. If you cannot produce these quickly, wall finishes become a recurring deviation risk rather than a managed asset.
If repairs, downtime, or modifications continue to drive repeat failures, the issue is no longer “paint selection.” It is envelope engineering and integration.
When to Involve ACH Engineering for Wall Finish and Envelope Integration
At some point, wall finishes stop being a maintenance topic. They start behaving like a facility constraint. The signal is repeat work: recurring repairs, growing downtime windows, and a change-control load that keeps inflating.
ACH Engineering helps when you need the wall finish decision to hold up as part of the cleanroom envelope. That typically includes:
- Finish system selection by zone: ACH can align finish choices to the room’s operating reality and modification load using coating systems where they remain defensible, and moving to modular wall systems where fast restoration and change control drive lifecycle risk.
- Critical interface detailing support: ACH can support detailing at the points that drive early degradation corners, frames, penetrations, joints, and terminations, so the selected system remains cleanable and maintainable under routine wipe-down and inevitable change work.
- Envelope and room-performance integration: ACH’s cleanroom engineering services cover design and performance alignment so envelope decisions do not conflict with airflow/returns, pressure intent, or maintenance access.
- Turnover-ready validation and documentation: ACH offers cleanroom validation services, including certification and documentation, which support defensible acceptance and ongoing compliance expectations.
Project reference: ACH’s Biotech Vaccine Facility highlights a heavy-duty wall panel system with a flush finish alongside environmental monitoring and pressure/airflow considerations, an example of treating wall finishes as part of room performance.
Request an ACH wall-finish and envelope review, share your disinfectant regime (frequency + method), and a marked-up wall plan showing impact/modification hotspots so the call produces a decision.
Conclusion
Wall finishes are a lifecycle decision. The finish has to tolerate your disinfectants, survive your contact points, and return to service on your downtime terms.
Start by choosing the finish class. Then lock the three inputs that drive the right specification: disinfection regime, impact profile, and repair tolerance. Use the matrix to make tradeoffs explicit. Write the spec around what actually fails: prep, interfaces, cure conditions, and return-to-service acceptance. Then govern it like an asset, so repairs and modifications do not degrade the surface into variability.
If you do this well, walls stop being a recurring maintenance story. They become a controlled part of the cleanroom envelope.
FAQs
What is the best paint for cleanroom walls?
- There isn’t one “best paint.” For most cleanrooms, “paint” effectively means a coating system (often epoxy/urethane) selected to match your disinfectant regime, impact exposure, and repair tolerance. Low-cost latex is typically a poor fit because it can powder over time.
Can epoxy paint be used on cleanroom walls?
- Yes, epoxy systems are commonly used to create a smooth, cleanable surface, especially on gypsum board or block. The risk is not “epoxy vs not,” it’s whether detailing and cleaning exposure will drive peeling or softening over time.
Why are cleanroom walls usually white?
- White makes contamination, staining, and growth easier to see, and many cleanroom wall materials and finishes are readily available in white at a lower cost.
How do you fix peeling paint on cleanroom walls without shutting down the room?
- Treat “temporary repair” as risk containment, not a finish solution. The immediate objective is to prevent shedding and protect the area until a controlled repair window is available, then address root causes like edge/penetration detailing and cleaning exposure.
Are modular wall panels better than painted drywall for cleanrooms?
- Often, yes especially where modifications and penetrations are frequent. Modular panels typically improve durability and make future changes faster and cleaner, while painted gypsum can become a recurring repair and modification burden.
GET IN TOUCH
Complete the form below to get in touch with our team.